Radiolink AT9 --- USB data backup copy function introduction
Click the website below to download the Radiolink AT9S Pro/AT9S/AT9 data copy by USB V1.0 System
https://www.radiolink.com/data_backup_copy_function
Radiolink AT9 data copy by USB V1.0 system download :
https://www.radiolink.com/newsinfo/477824.html
Note: Please be kindly noted that the firmware by factory setting are the fundamental ones that can realize all basic controls. Users can flash the latest firmware depending on the actual needs.
It’s NOT because Radiolink is selling the old version products in stock.
1: When use USB cable connect to AT9, it’s better to reopen "Radiolink AT9 USB data copy system V1.0".
2: Before use "Radiolink AT9 USB data copy function", run "ctlUpdate_step1.bat" first.
3: When the first time to open “Radiolink AT9 USB data copy V1.0 system ”, need to run as administrator.
4: There need to have “DD” sound when write data into transmitter, there must be have something wrong with the copy system if doesn’t have “DD” sound, please reopen "Radiolink AT9 USB data copy system V1.0”, return on the AT9, reconnect the USB cable.
Steps:
1. AT9 have to upgrade to V1.3.3 first if you need use the copy function. The instructions how to upgrade the firmware, please refer to this video.
https://www.youtube.com/watch?v=QvazyIYqLJ8
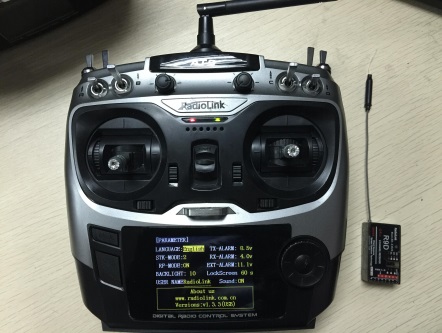
2. Turn on transmitter, then connect to computer through the USB cable.
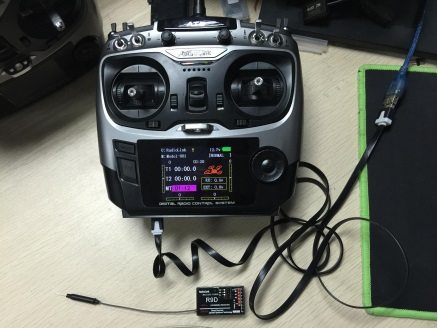
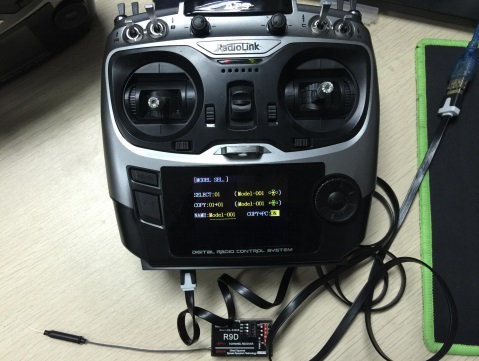
3.Turn on USB data copy function in MODEL SEL. menu: Choose BASIC MENU-> MODEL SEL.->COPY→PC:ON
4. Open “AT9 USB data copy system V1.0”.
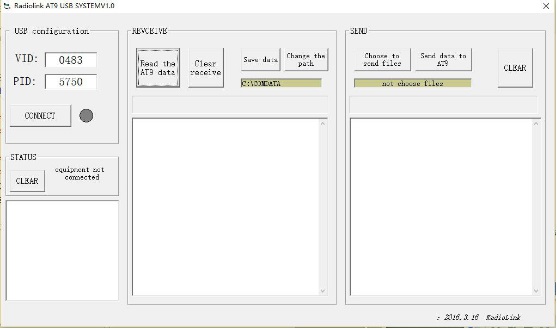
5. Click”CONNECT”, green light on means connect successfully.
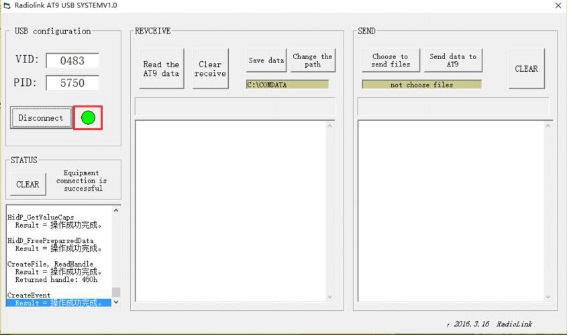
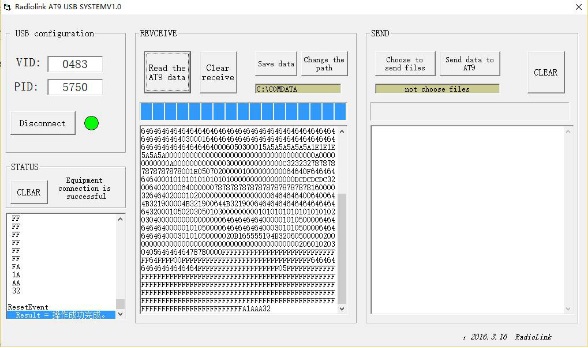
6. Read the AT9 data: click “Read the AT9 data”, the green light is flashing while reading the data, you can hear twice“DD” from AT9 when finished read data.
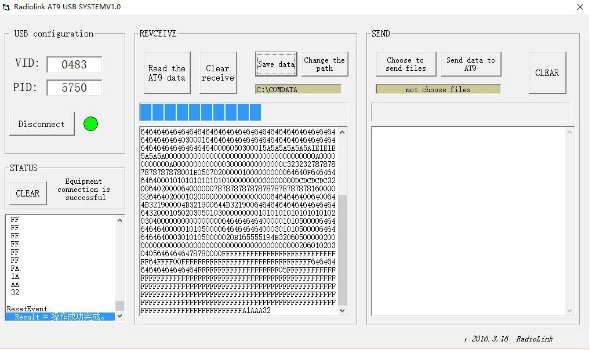
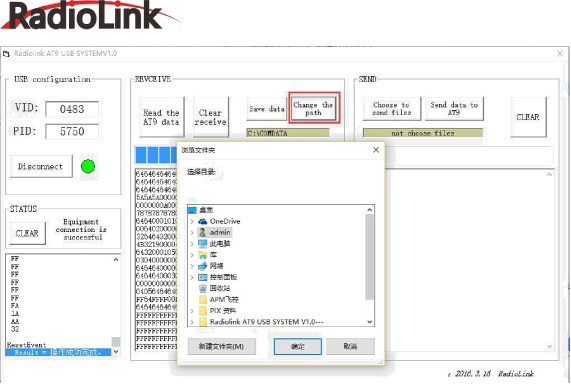
7. Save the original data and change the path.
8. Choose to send files : choose the original files which you need, click "Choose to send files" to send files to AT9. Please click “确定” if remind “Please input data is a hexadecimal”.
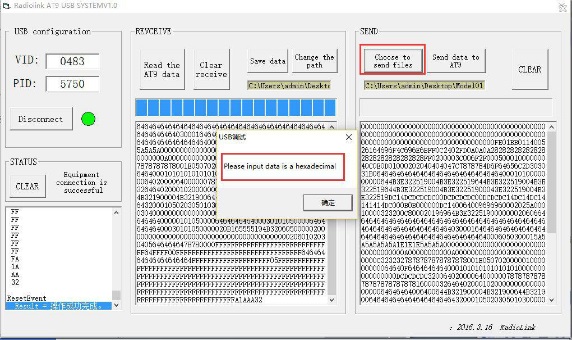
9. Send data to AT9: click "Send data to AT9", AT9 will keeping "DD" till the progress bar finish, then you can pull off the USB line and return on your AT9.
Note: If the remote control doesn’t have “DD” sound, means doesn’t sent the file successfully. Please try to send again.




 RadioLink Products Instruction Manual Download
