


Multicopter-4.6.3.apj
1.21 MB
FC for Fixed Wing
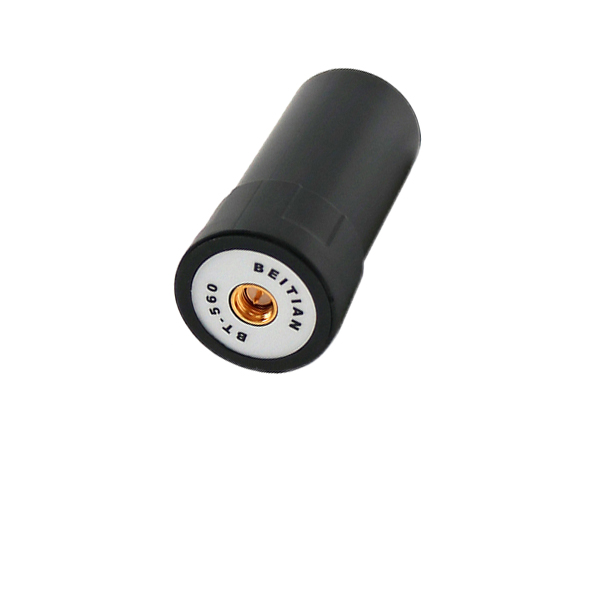
GPS
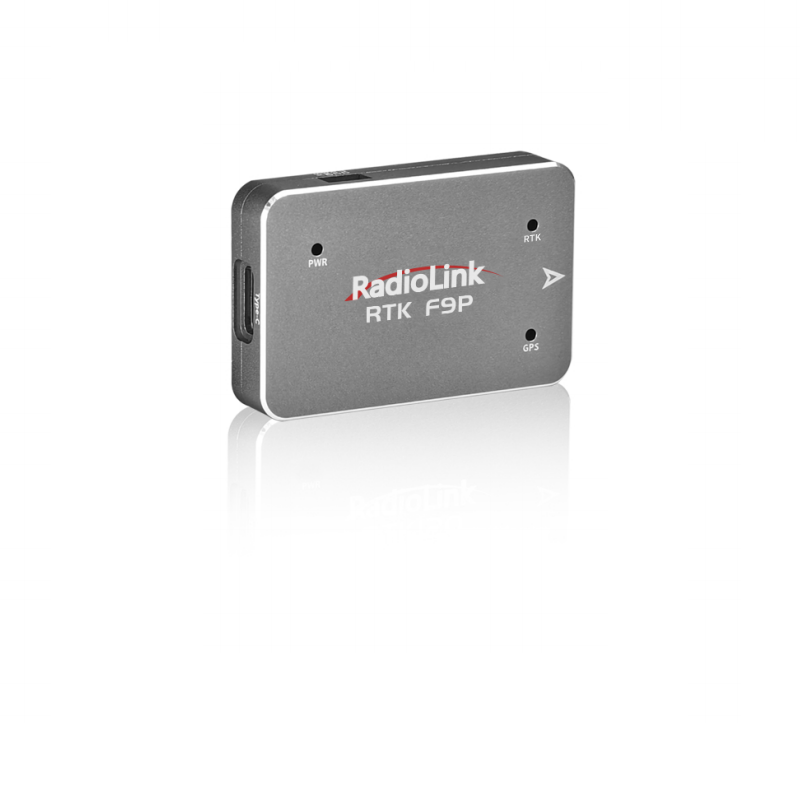
RTK Kit
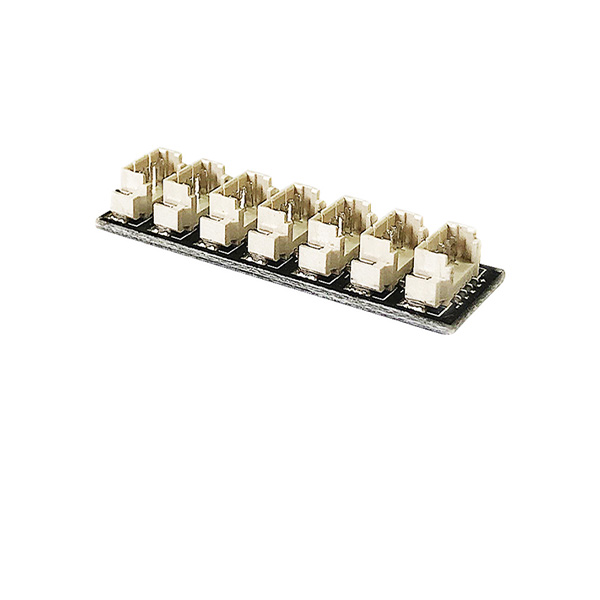
12C Boards
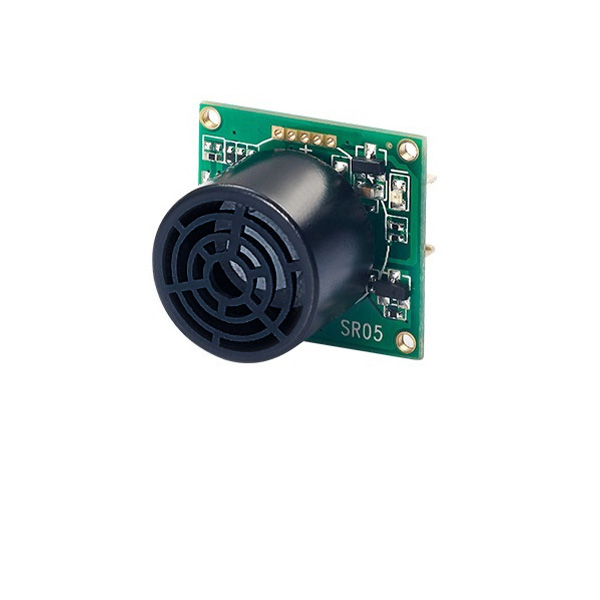
Ultrasonic Sensor
Digital Video
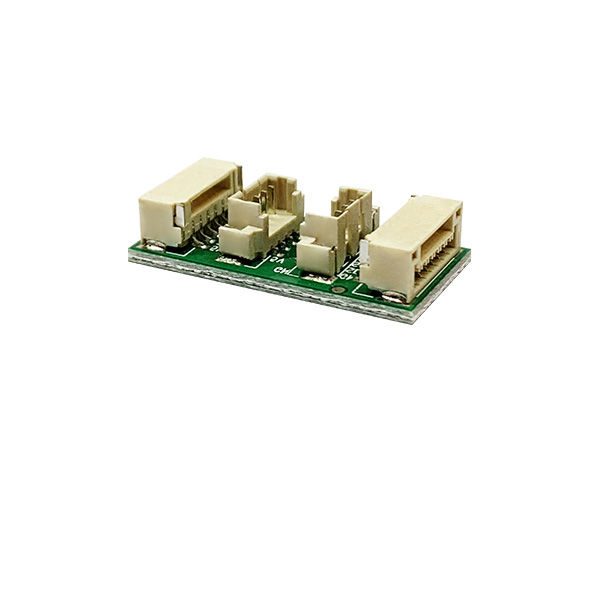
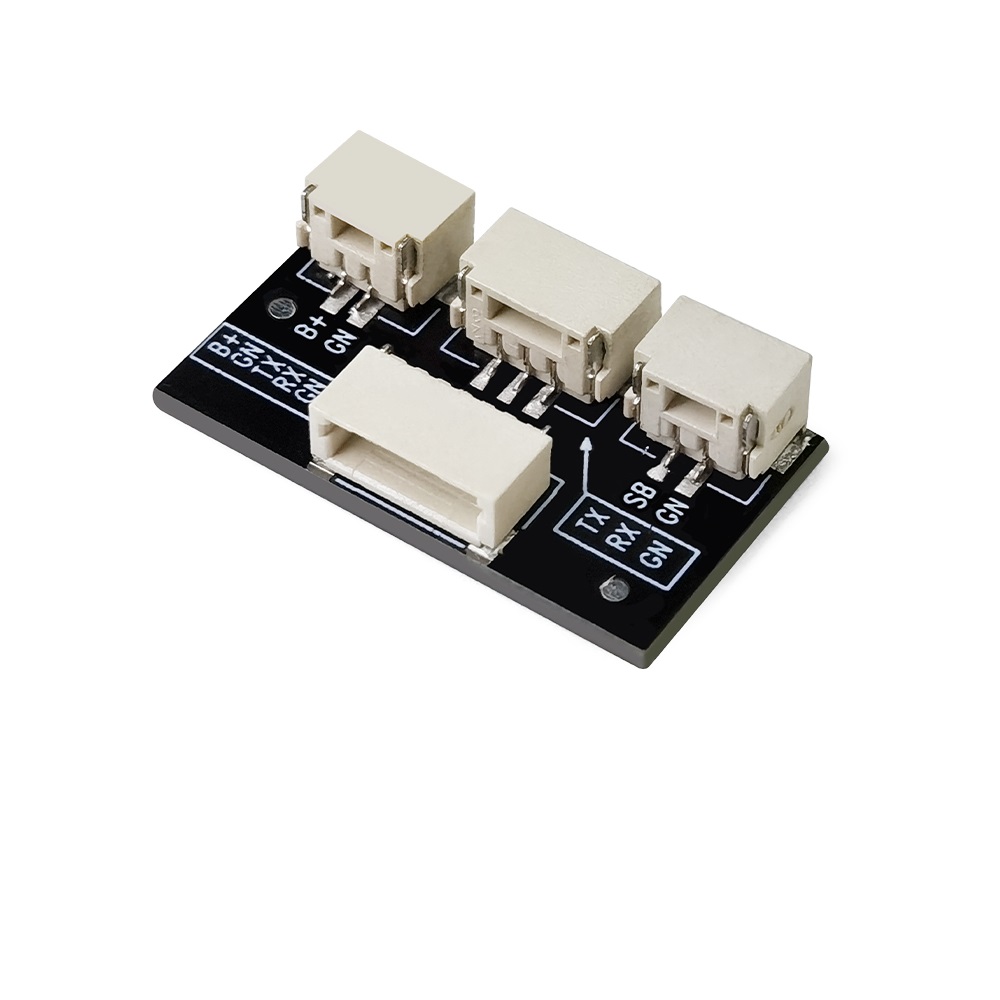
Transmission Adapter Board
NEW
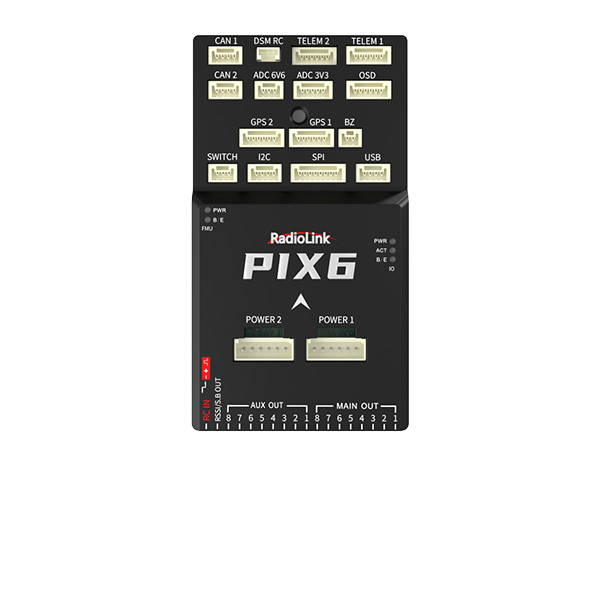
Flight Controller(Mission Planner)
NEW
 简体中文
简体中文 English
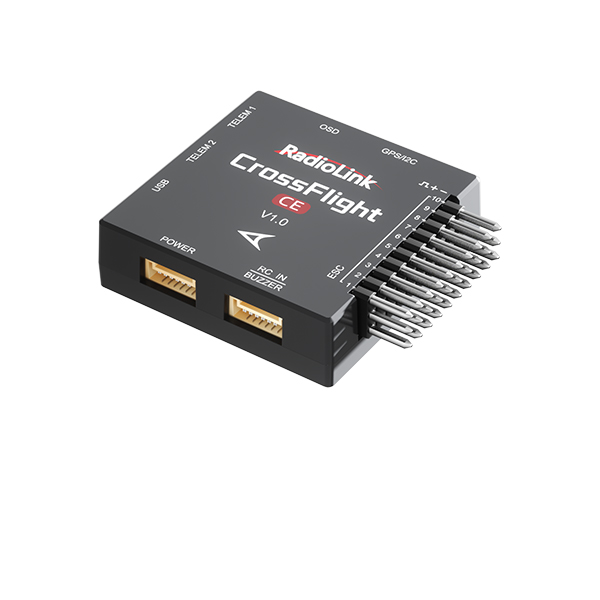
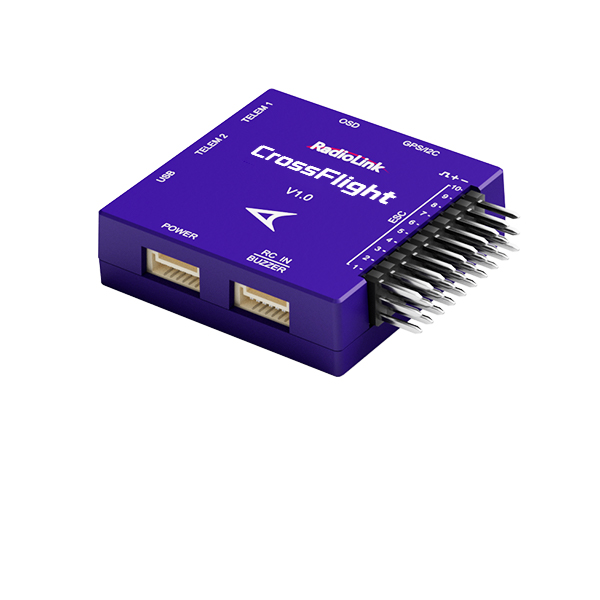
Firmware for CrossFlight
Attention: Flashing firmware for different drone models to the flight controller will reset all current parameters, while flashing different versions of firmware for the same model will not. To preserve flight controller parameters, please export and save them first.
* Note:
1. The firmware CrossFlight supports:
The CrossFlight can only upgrade the firmware from Radiolink and cannot upgrade the open-source firmware. The default firmware of CrossFlight is for Multicopter.
2. The Mission Planner for parameter setup that CrossFlight supports:
The CrossFlight can set parameters by Radiolink Mission Planner, ArduPilot Mission Planner, and QGC Mission Planner.
3. The Mission Planner for firmware update that CrossFlight supports:
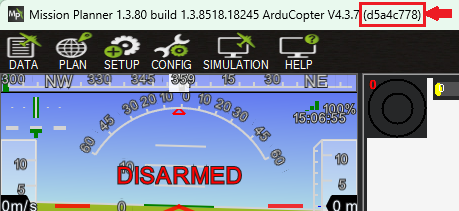
① Connect the CrossFlight to the Radiolink Mission Planner; there is a default (d5a4c778) that can upgrade the firmware by both the Radiolink Mission Planner and ArduPilot Mission Planner.
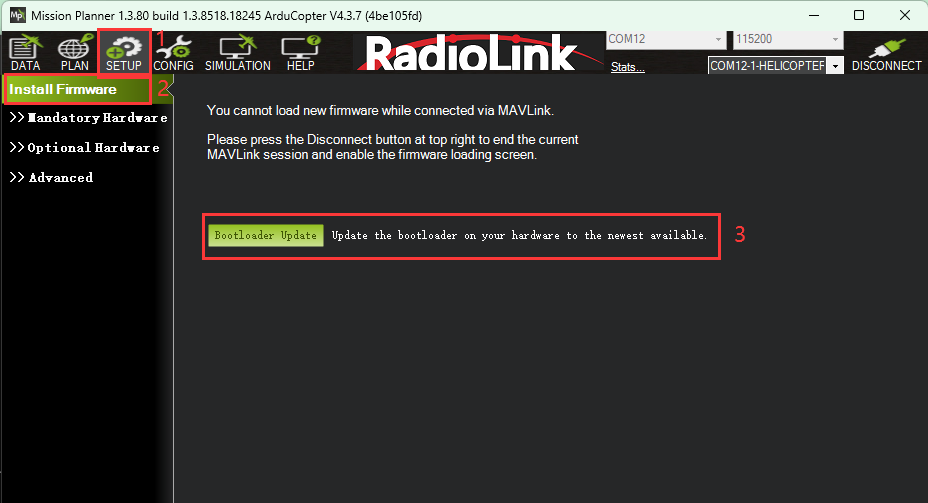
② Connect the CrossFlight to the Radiolink Mission Planner, there is without a (d5a4c778) that can also upgrade the firmware by both the Radiolink Mission Planner and ArduPilot Mission Planner, but you need to upgrade the firmware to the latest version below and Update the Bootloader first.
Radiolink Mission Planner can be downloaded here:
Multicopter-4.6.3.apj 1.21 MB | 2025-11-17 |
Airplane-4.6.3.apj 1.2 MB | 2025-11-17 |
HeliCopter-4.6.3.apj 1.21 MB | 2025-11-17 |
2025-11-17 | |
AntennaTracker-4.6.3.apj 890.5 KB | 2025-11-17 |
Submarine-4.5.1.1 (1).apj 1.02 MB | 2025-05-30 |
1. The latest firmware from RadioLink
If you encounter any abnormalities after upgrading to the latest firmware, you can upgrade back to version 4.3.
2. V4.3 firmware from RadioLink
Multicopter-4.3.7.6.apj 1.18 MB | 2024-12-25 |
Airplane-4.3.7.6.apj 1.17 MB | 2024-12-25 |
Helicopter-4.3.7.6.apj 1.19 MB | 2024-12-25 |
Car and Boat-4.2.3.6.apj 1.04 MB | 2024-12-25 |
Antennatracker-4.2.0.6.apj 886.5 KB | 2024-12-25 |
Submarine-4.1.1.6.apj 996.11 KB | 2024-12-25 |
Latest Firmware (V4.6.3) Upgrade Instructions
ArduPilot Copter Release Notes:
------------------------------------------------------------------
Release 4.6.3 04-Nov-2025 / 4.6.3-beta1 14-Oct-2025
- ARK FPV, ARK Pi6X, and ARKV6X Extended Range support
- Blitz Wing H743 and H743 Pro I2C pullup fixes
- Blitz Wing H743 and H743 Pro now use SPA06 barometer
- CUAV-7-Nano now uses IIM-42653 accel/gyro
- DAKEFPV H743 and H743 Pro support
- Orqa FC 3030 H7 QuadCore support
- SequreH743 now uses DPS310 and DPS368 baro
- SIYI N7 now uses ICM45686 accel/gyro
- SPEDIX H743 analog VTX enabled
- TBS LUCID H7 fix VSW control
- TBS Lucid H7 Wing AIO support
- ZeroOne X6 bi-directional DShot support
2) Driver bug fixes and enhancements
- DJI goggles support for iNAV multi-page fonts
- Gremsy mounts cope with NaN in device information
- OSD can now be controlled over DroneCAN serial passthrough
- Correct setting of deadzone on RC tuning channel
4) Plane specific fixes and enhancements
- Added option to disable IMU check with ICE running
- Fix landing flare when using rangefinder
- Fix landing slope when when a rangefinder exists, but is not in use
- Improve TECS behavior when using MIN_GROUNDSPEED
- Make RNGFND_LANDING a bitmask
- Quadplane terrain avoidance applet
- Remove roll-rate limit in fixed-wing recovery
5) Bug Fixes and minor enhancements
- Correct starting of CAN multicast server
- Data race in parameter creation fixed
- ECC check no longer causes firmware wipe if error is recoverable or if only param pages impacted
- FFT uses primary gyro instead of first available
- GPS blending fix when one GPS loses lock
- Harmonic notch filter fixes for scripted motor mixers
- Lua applet for arming checks
- Lua binding for getting rally points
- More BLHeli passthrough fixes
- Networking stack overflow (and subsequent watchdog) fixed
- Pre-arm check for system initialization
- Printing extremely small numbers no longer causes an infinite loop
- Raspberry Pi 5 board-type detection fixed
- Scripting fix for parameter indices being registered out of order
Attention: If you can not download the files when clicking the files above, please click the website below to download the files you need.
Firmware: http://www.radiolink.com.cn/firmware/flight_controller/crossflight_EN/
How to install the firmware of CrossFlight?
文本
 简体中文English